COMPUTER & MOBILE PANEL
COMPUTER & MOBILE PANEL
Technical FAQs
STEP 1: You will first need to download the Nielsen App. You can do this from your device by searching for 'Nielsen Mobile App' within the Google Play application on your device, or click the link here on your Android device.
STEP 2: Once the installation has completed, you will find the 'Nielsen Mobile App' in your applications list. You will need to click on the Nielsen Mobile icon to start it for the first time.
STEP 3: Now, you will be asked to input your username and password. The username is the email address you provided during the enrollment process. The password is the same password you used for your account in the enrollment process.
STEP 4: The Application will ask you to "Accept" the Software License Agreement / Privacy Policy. Review the Agreement and Click "Accept".
STEP 5: Next you will need to accept the setting to allow the Neislen app to collect app usage.
That's it! The Nielsen Mobile App is now installed on your device.
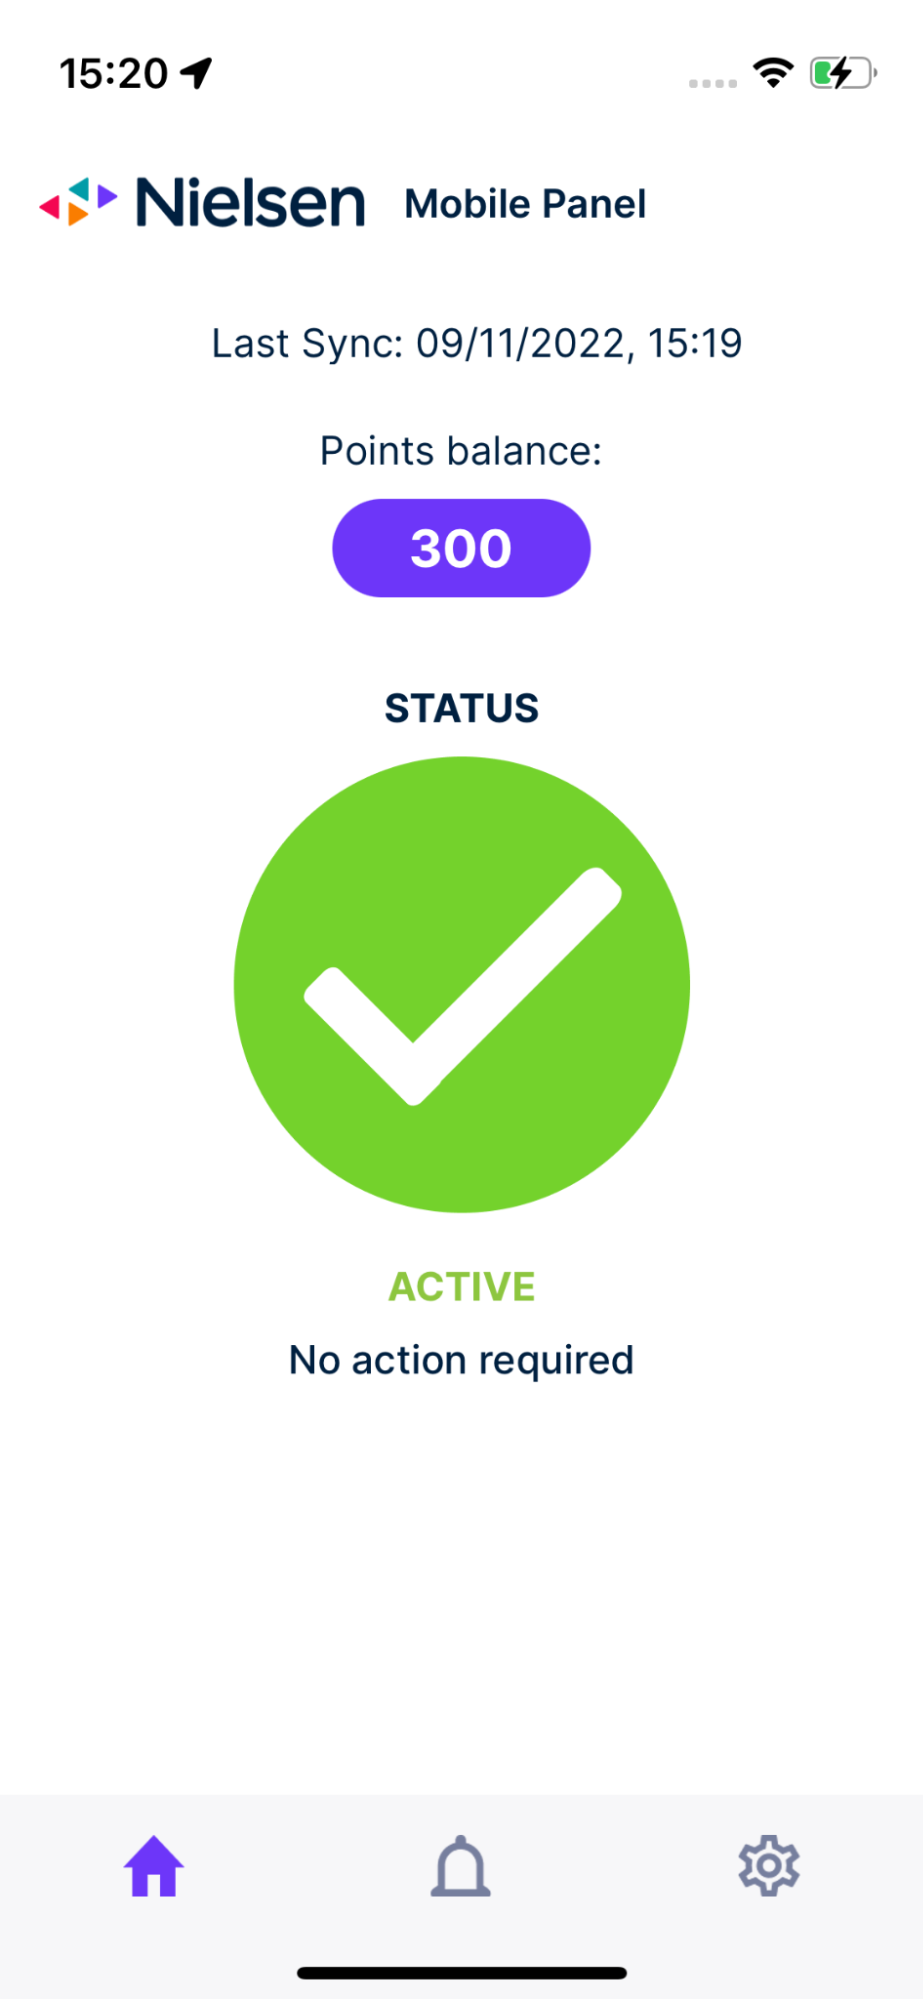
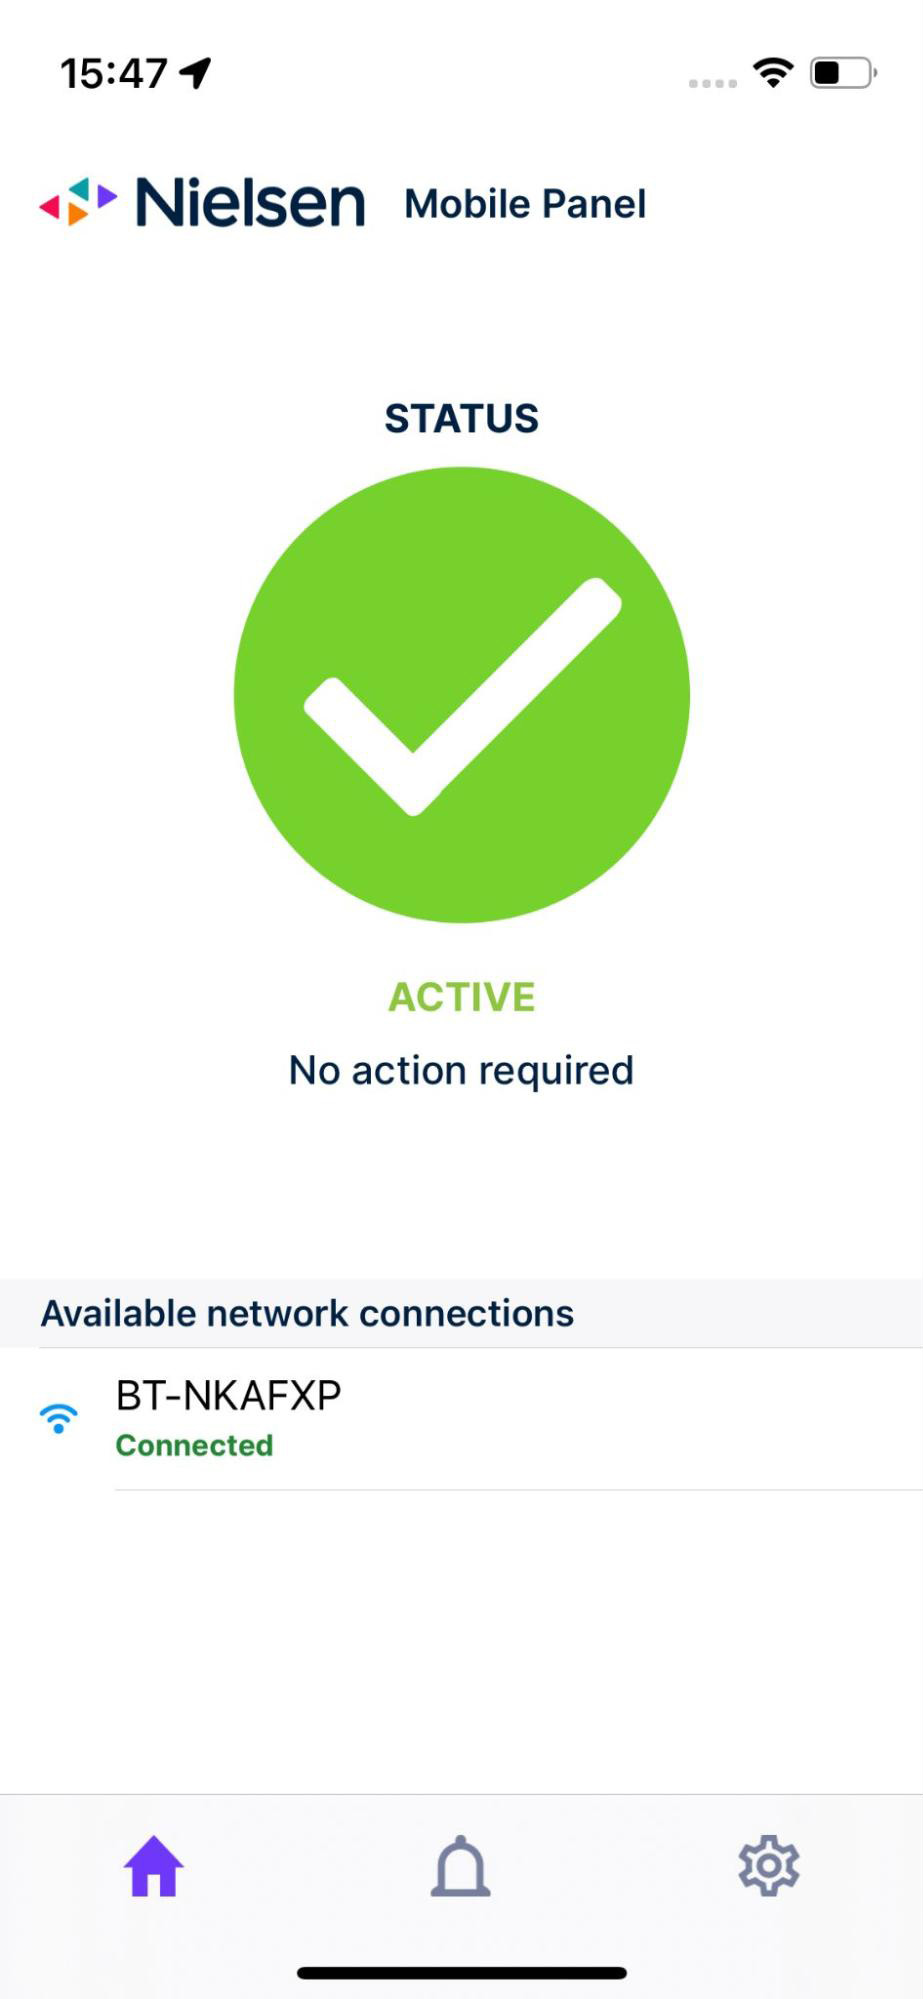
Tip: Want to check that your Nielsen Mobile App has been properly installed? Open the Nielsen Mobile App and tap on the Panel Status tab. If you see "Active" then you're all set! If you see an "Action Needed" message, please press the "Help" button to contact the help desk in order to resolve the issue.STEP 1: Download the Nielsen Mobile App. Click the link below from your iOS device, or search for 'Nielsen Mobile App' within the App Store on your iOS device.
STEP 2: Open the Nielsen Mobile App after completing the download.
STEP 3: Enter the username (email address) and password you created during registration, then press the "Sign In" button.
STEP 4: Accept all of the panelists agreements and prompts.
STEP 5: Follow the in-app steps to complete the Nielsen Mobile App installation.
STEP 6: When you have completed all the steps above, the Nielsen Mobile App status will change to ACTIVE (green). This iOS device is now registered and active in the Nielsen Computer & Mobile Panel.
You can
follow the steps below to configure.
1. Tap on "Install"
2. You will see a pop-up asking you to
install
the profile; tap on the "Install Now" button.
3. You will see "Profile Installed". Tap the "Done"
button,
then press the HOME button and you're all done!
Tip: You can double-check to make sure the Nielsen profile was successfully installed by going to Settings → General → Profiles & Device Management, and tap the "Nielsen" profile listing.
If you are registering a new device just answer the short questionnaire and follow the instructions you are given. If you are installing on a device that has already been registered please verify that the information about the device is correct and then follow the instructions.
Note: While there is no limit for how many computers can be active, eligibility for mobile devices is device and population based. So, as long as we have not yet reached the limit for a specific device or a specific population you can register multiple mobile devices.
Tip: If your device is currently ineligible, but you are interested in joining the mobile panel, feel free to check back from time to time as you may become eligible in the future!
Note: If you perceive that your device performance is being impacted, let us know by contacting our helpdesk so we can help you troubleshoot any issues.
To thank you for being an active member, we offer you a points-based reward system. As long as you stay active, you will accumulate points which can be redeemed for gift vouchers. By joining this panel, you’ll receive:
Also, our apps never collect sensitive information like usernames, passwords, or credit card information.
We also will never sell your personal information nor will we allow our clients to market or sell anything directly to you. With Nielsen, your private information stays private.
If you'd like more detailed information on the type of data being collected and our privacy practices, please read our Privacy Notice or contact the helpdesk for further support.
Note: to keep participating, you will still need to receive a limited number of emails that are relevant to your participation. If you wish to stop all communication you must opt-out entirely from the panel and stop collecting rewards.
You will need to select "Opt-out" and confirm that you really want to leave the panel. Then, find your device(s) from the list below and follow the uninstallation steps.
Note: Once you leave the panel, you will not be able to rejoin at this time!You can uninstall the Nielsen Mobile App from the Settings application:
STEP 1: On your device, go to Settings.
STEP 2: Select ‘ Applications ’.
STEP 3: Find and tap on the Nielsen Mobile App.
STEP 4: Tap on uninstall to begin the uninstallation process.
To uninstall the Nielsen Mobile App on iOS devices (iPhone/iPad), please follow the steps below (note that all steps must be completed to fully remove the app):
First, open the app to determine which set of instructions to follow:


Steps A1-A3
A1: Find the Nielsen Mobile App on your home screen and press on the Nielsen Mobile App icon until ‘Remove App’ appears, then press ‘Remove App’.
A2: When ‘Remove Nielsen Mobile App? ‘ is displayed, then select “Delete App”. (Note: removing the app from the Home screen will still keep the app in your App Library).
A3: Verify the Nielsen Mobile App icon is no longer on your iOS device, and you are done.
B1: Remove Profiles
*If you do not see above options within the General section of Settings, that means no profiles are installed.
2. You will see one or more profiles installed on your device that start with Nielsen. Select a profile and press the "Remove" button. Then, follow the steps until the profile is completely removed. If you cancel during these steps, the profile will not be removed.
3. Review the list of profiles to confirm all Nielsen Profiles are removed.
*To retrieve the full list of configured Wi-Fi networks, launch the Nielsen Mobile App and tap on the "Setup Status" tab. You should see a list of configured Wi-Fi networks
B2: Turn Off Proxies
1. Open the Settings Application and go to Wi-Fi.
2.Look for the Wi-Fi networks that you have configured. Tap on the Wi-Fi name you need to remove (based on the list of configured Wi-Fi networks in the Nielsen Mobile App). Scroll down to the HTTP PROXY section.
3. Continue Steps 1 and 2 until the proxy setting is set to "off" for all your configured Wi-Fi networks.
*You may not see all the Wi-Fi networks configured under Settings->Wi-Fi because Apple will only list the nearby Wi-Fi networks. To turn off proxies you need to be on the Wi-Fi network. Example: If you are trying to remove an office Wi-Fi while at your home, you may not see it in the list. You need to be connected to the office Wi-Fi to change the proxy settings.
1. Find the Nielsen Mobile App on your home screen and press on the Nielsen Mobile App icon until ‘Remove App’ appears, then press ‘Remove App’.
2. When ‘Remove Nielsen Mobile App?’ is displayed, then select ‘Delete App’. (Note: removing the app from the Home screen will still keep the app in your App Library).
3. Verify the Nielsen Mobile App icon is no longer on your iOS device, and you are done.
*If you only opt-out through the website and don’t remove the Nielsen Mobile app, we will no longer process your data but you may still be sending logs to our servers via the app.
STEP 1: Select start and search for "Uninstall a program".
STEP 2: Select the Nielsen program.
STEP 3: Right click on the Nielsen program, select uninstall.
STEP 4: Follow the onscreen instructions.
STEP 5: Restart computer if prompted.
STEP 1: Click the Spotlight icon in the upper right hand corner of the screen.
STEP 2: Type in Nielsen in Spotlight.
STEP 3: Locate Nielsen Uninstall on the list of displayed items and click it.
STEP 4: Click Uninstall.
STEP 5: A prompt will come up asking for the Admin password. Enter the password and click OK.
STEP 6: A confirmation will display showing the uninstall is complete. Click OK.
STEP 7: Restart the Mac.
That's it! The Nielsen Mobile application and settings are now removed from your device(s).On mobile devices, you can contact the help desk by launching the app and then clicking "Email our help desk". You may type any additional information in the body that you feel will help in resolving your request.